How to Do a Proper Squat: 5 Common Mistakes and How to Fix Them
This article is for general educational purposes only and does not constitute medical or professional fitness advice.
Consult a licensed healthcare provider or certified fitness professional before starting any new exercise program, especially if you have a pre-existing condition or injury.
The squat may be the most important lower-body movement pattern in fitness — but it is also one of the most commonly performed incorrectly.
Poor squat mechanics rarely cause immediate pain. Instead, they tend to accumulate over hundreds of reps into the kind of knee, lower back, or hip discomfort that sidelines training unexpectedly.
This guide covers the five most common squat mistakes, how to identify each one, and step-by-step corrections you can apply in your next session.
Squat Fundamentals: What Proper Form Actually Looks Like
The Key Checkpoints
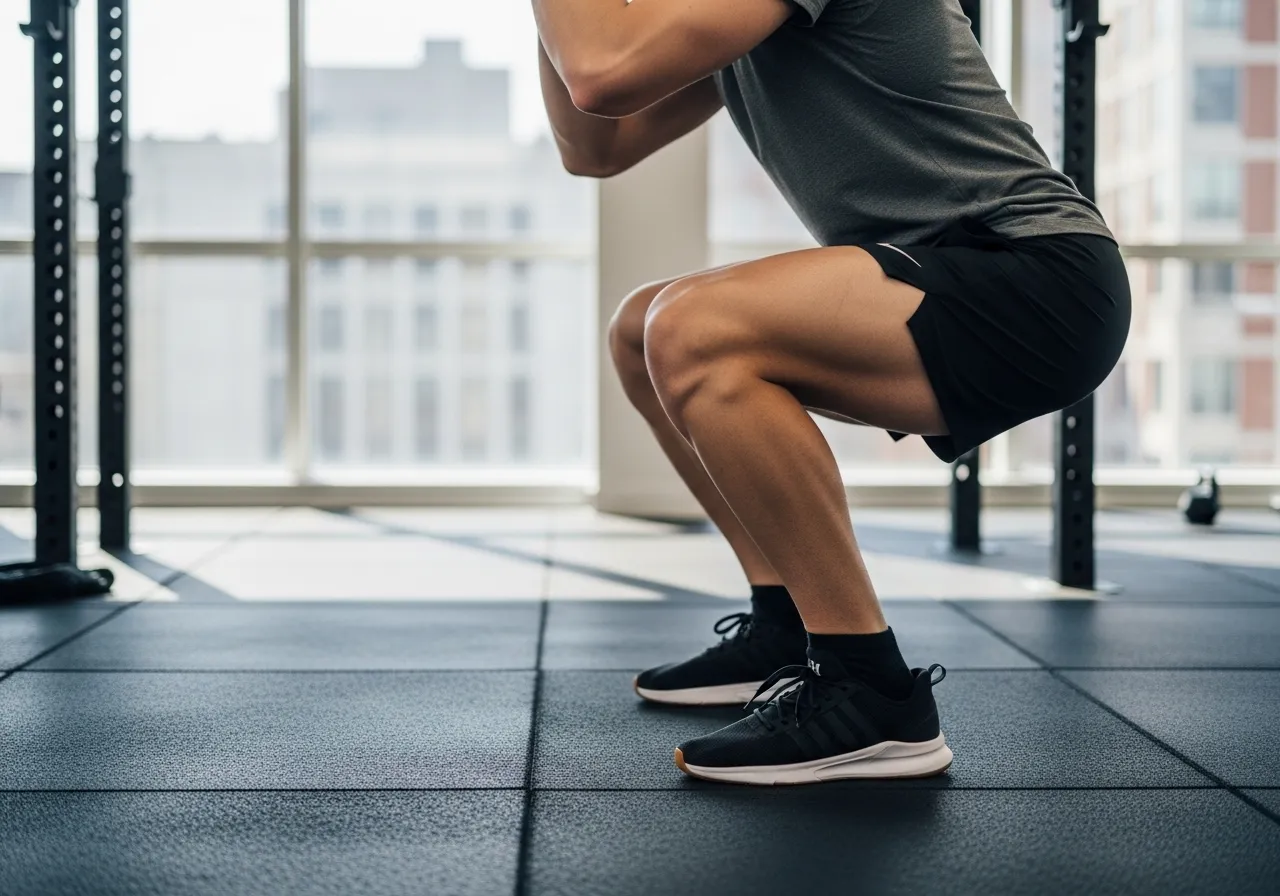
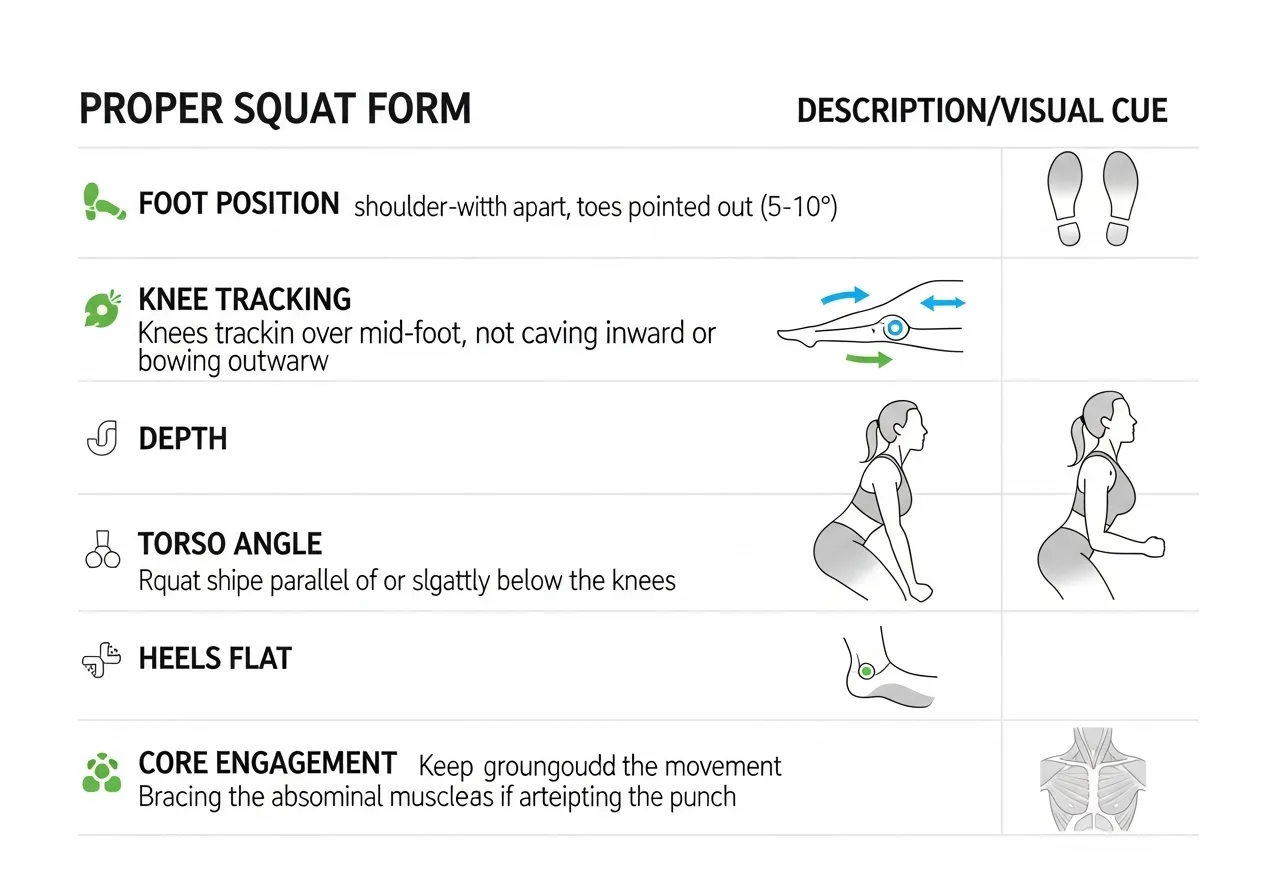
Before examining what goes wrong, it helps to have a clear picture of what correct squat mechanics look like:
| Checkpoint | What to Aim For |
|---|---|
| Foot position | Shoulder-width apart, toes turned out 15–30° |
| Knee tracking | Tracking over the 2nd–3rd toe throughout the movement |
| Depth | Hip crease at or slightly below parallel — as mobility allows |
| Torso angle | Neutral spine, slight forward lean acceptable |
| Heel position | Flat on the floor throughout — no rising |
| Core | Braced throughout — inhale at top, exhale on the drive up |
Why Squat Mechanics Matter Particularly in Loaded Variations
Bodyweight squats with minor form deviations may cause little issue for most healthy individuals.
But add a barbell, dumbbell, or goblet load — and the compressive and shear forces on the knee and lumbar spine (the five vertebrae of the lower back) increase substantially.
Developing clean mechanics under bodyweight first is generally considered the safer and more effective approach before adding external load.
Common Squat Mistakes: Part 1 — Knee and Heel Issues
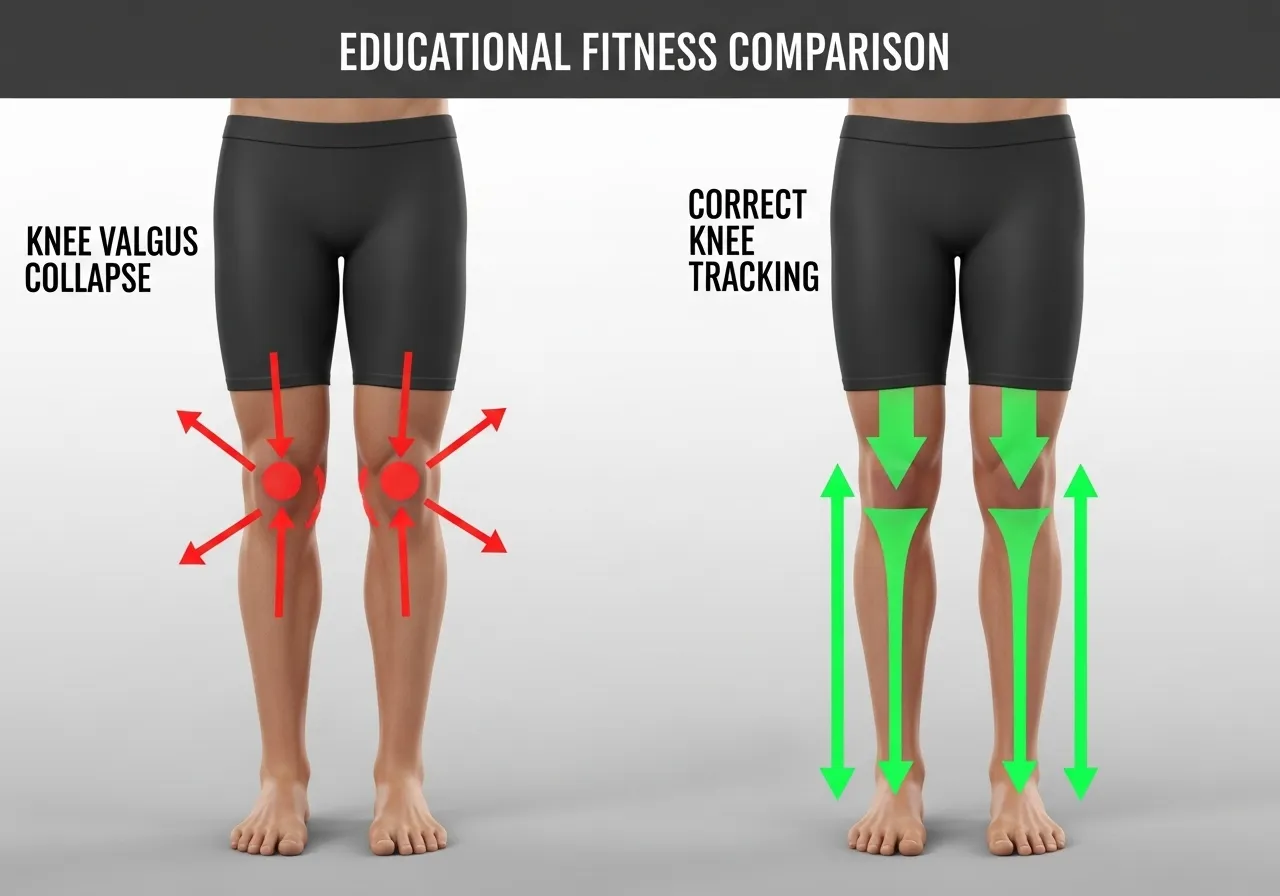
Mistake 1 — Knees Caving Inward (Valgus Collapse)
What It Looks Like
The knees drift toward each other during the descent or, more commonly, on the way back up — particularly under fatigue or load.
Why It Happens
- Weak hip abductors (muscles that move the thigh away from the midline, including the gluteus medius)
- Limited ankle dorsiflexion (the range of motion that allows the shin to travel forward over the foot) forcing the foot to compensate
- Load that exceeds current movement control capacity
Why It May Be a Problem
Persistent valgus collapse increases stress on the medial knee structures — including the MCL (medial collateral ligament) and the medial meniscus (the cartilage disc on the inner side of the knee).
A 2011 study in the Journal of Athletic Training found that valgus collapse during landing and squatting movements was associated with significantly increased ACL injury risk in female athletes.
Suggested Corrections
✅ Add pre-session clamshells: 3 × 15 each side
✅ Use a light resistance band around the knees during bodyweight squats as proprioceptive feedback (sensory information that helps the nervous system sense joint position)
✅ Temporarily reduce load until mechanics improve
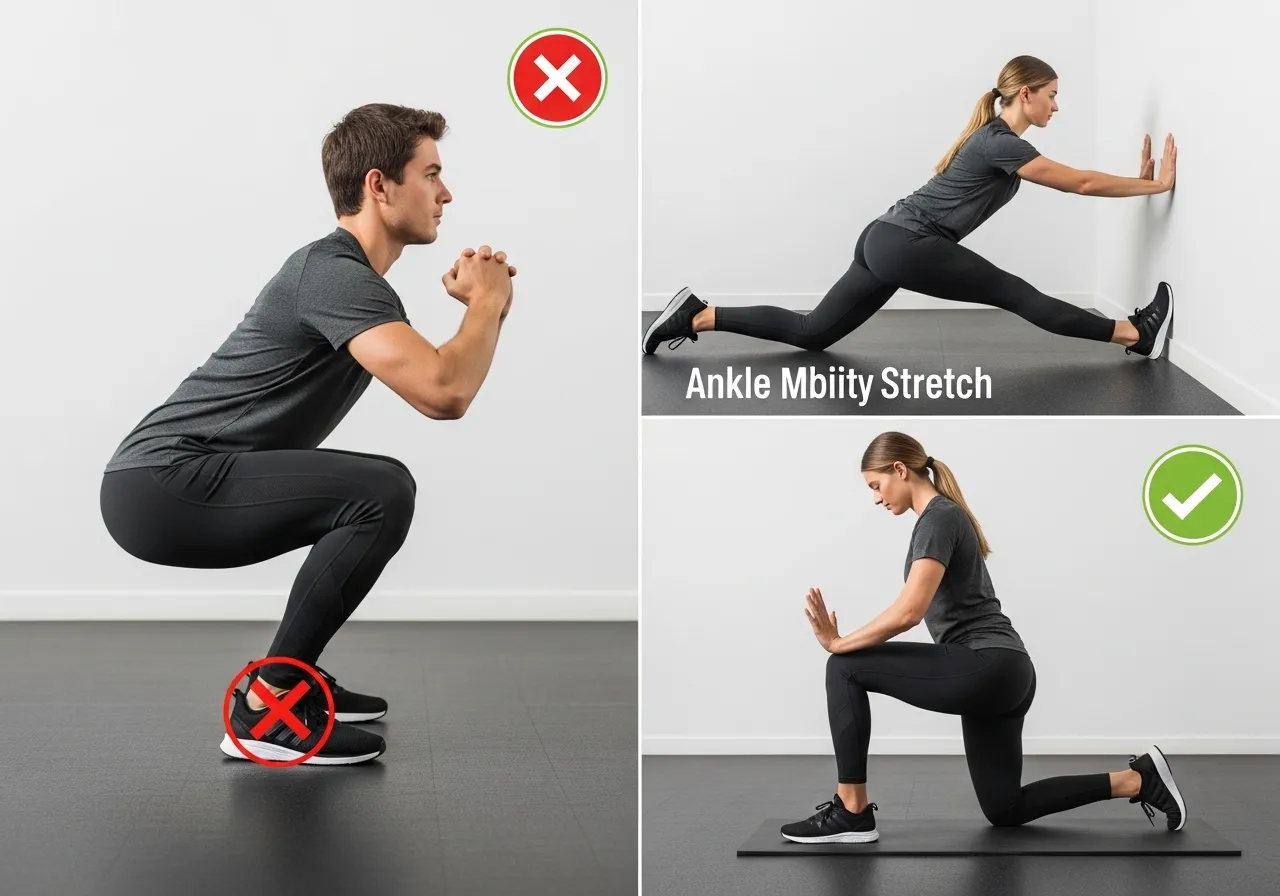
Mistake 2 — Heels Rising Off the Floor
What It Looks Like
The heels lift during the descent — often most noticeable at the bottom third of the squat.
Why It Happens
The most common cause is limited ankle dorsiflexion (the ability to flex the foot upward toward the shin), preventing the shin from traveling far enough forward without the heel compensating.
Tight calves (specifically the soleus muscle, which crosses only the ankle and is the primary restrictor of dorsiflexion) and ankle joint stiffness are common contributing factors.
Suggested Corrections
✅ Temporarily elevate heels 1–2 cm (heel wedge or small plates) while building mobility
✅ Wall ankle mobility drill: knee-to-wall test, 3 × 10 reps each side daily
✅ Allow 4–8 weeks of consistent mobility work before reassessing
Common Squat Mistakes: Part 2 — Torso and Head Position
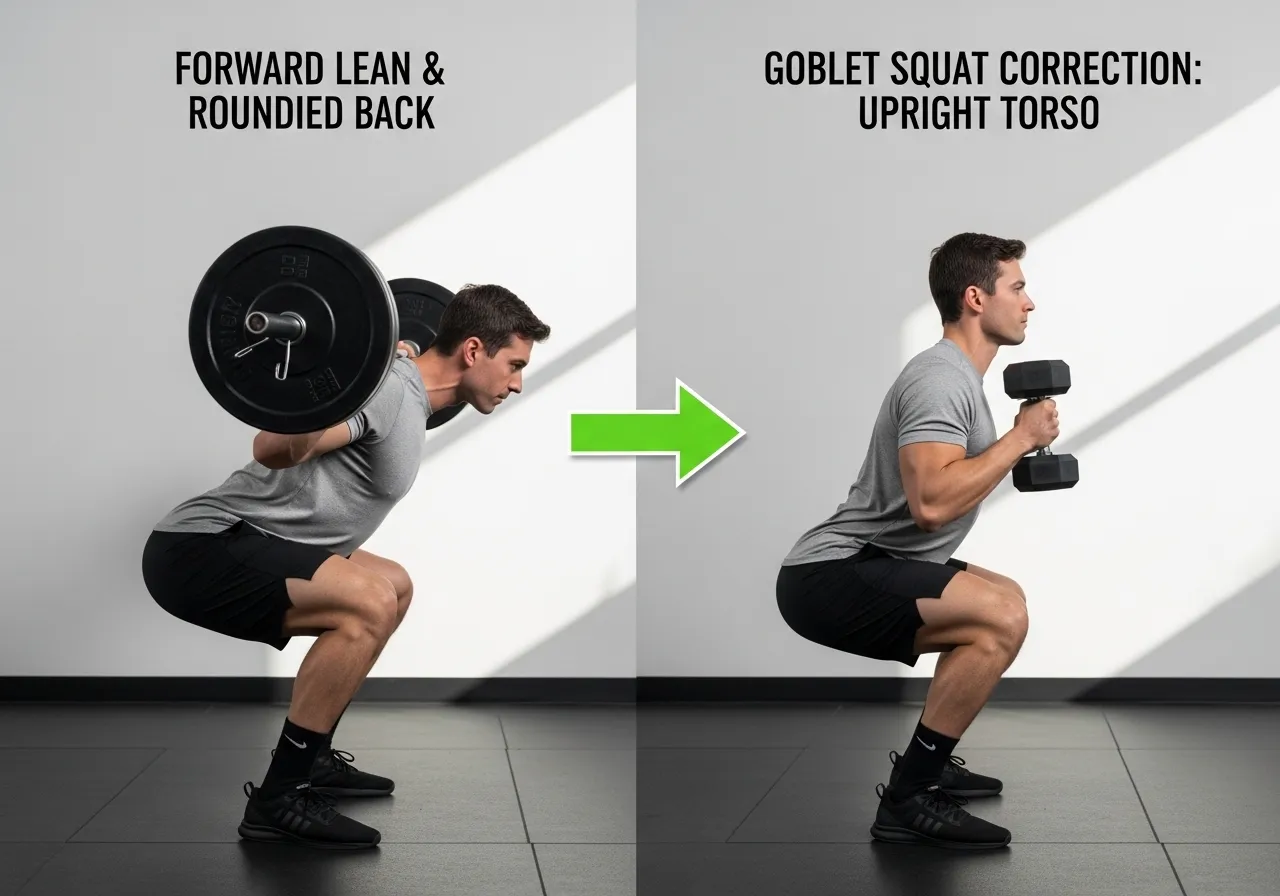
Mistake 3 — Excessive Forward Lean and Lower Back Rounding
What It Looks Like
The torso tilts significantly forward during the descent — and/or the lower back loses its neutral curve and rounds under at depth (a pattern often called “butt wink”).
Why It Happens
- Limited ankle dorsiflexion (same as Mistake 2 — forces the torso to compensate)
- Limited hip mobility — particularly hip flexion range
- Weak core that cannot maintain spinal position under load
- Bar position that is too high or too far back for current thoracic mobility (mid-back range of motion)
A Note on “Butt Wink”
Some posterior pelvic tilt at the very bottom of a deep squat is considered within normal range for many individuals — research suggests it only becomes a concern when it occurs well before the target depth, or when performed under significant load.
If rounding occurs above parallel, addressing ankle and hip mobility is generally the first recommended step before increasing load.
Suggested Corrections
✅ Work hip flexor mobility: 90/90 hip stretch, 2 × 45 sec each side
✅ Practice braced core squats to a box (box squat) to build positional awareness
✅ Consider working at a shallower depth until mobility improves
Mistake 4 — Looking Up Excessively or Dropping the Chin
What It Looks Like
The neck is either craned far upward (eyes looking at the ceiling) or tucked downward (chin to chest) rather than maintaining a neutral cervical position.
Why It May Be a Problem
Under load, excessive cervical spine flexion or extension (bending the neck forward or backward beyond neutral) may increase cumulative strain on the cervical discs over many sets.
Suggested Corrections
✅ Maintain a “packed neck” position — slight retraction, neither craned nor tucked
✅ The gaze naturally follows the torso angle — don’t force the head independent of the spine
Mistake 5 — Caving Chest / Losing Upper Back Tension
What It Looks Like
The upper back rounds, the chest “caves” forward, and the shoulder blades lose their set position — most visible in barbell back squat variations under heavier load.
Why It Matters
Upper back tension (engagement of the thoracic extensors, rhomboids, and middle trapezius to hold the spine in extension) is one of the primary factors that keeps the barbell path stable and reduces spinal shear forces during the squat.
Without it, the load shifts forward, the torso tips, and compensatory stress accumulates in the lumbar region.
Suggested Corrections
✅ Practice 3 × 10 barbell shrugs and face pulls to strengthen the upper back retractors
✅ For front squats or goblet squats: keep elbows up — elbow height directly reflects upper back engagement
✅ Reduce load if upper back rounds on the way up — this is a reliable sign the weight exceeds current capacity
Quick Mistake Reference Summary
| Mistake | Most Likely Cause | First Step |
|---|---|---|
| Knees caving | Weak hip abductors | Clamshells + band squats |
| Heels rising | Limited ankle dorsiflexion | Daily soleus stretch |
| Excessive lean / butt wink | Ankle + hip mobility | Goblet squat + hip stretches |
| Head position | Habit / lack of awareness | Neutral gaze cue |
| Caving chest | Weak upper back / too much load | Reduce load + upper back work |
Frequently Asked Questions About Squat Form
Q: Should my knees go past my toes during a squat?
Yes — for most people, allowing the knees to travel forward over the toes is both natural and necessary for proper squat mechanics.
Earlier guidance suggesting the knees should never pass the toes has been largely revised in sports science literature. A 2003 study in the Journal of Strength and Conditioning Research found that restricting knee travel forward significantly increased hip torque (rotational force at the hip joint) without meaningfully reducing knee stress.
The key is that the knee should track over the toes — not cave inward — as it travels forward.
Q: How deep should I squat?
The answer depends on your current ankle and hip mobility, your goals, and whether any knee or hip conditions are present.
For most healthy individuals, squatting until the hip crease is at or slightly below parallel is generally considered sufficient to adequately recruit the quadriceps (the four-muscle group at the front of the thigh) and glutes.
Forcing depth beyond what your mobility currently allows — particularly under load — is generally not recommended. Work progressively toward greater depth as mobility improves.
Q: How do I know if my squat form is safe?
A few practical self-assessments to consider:
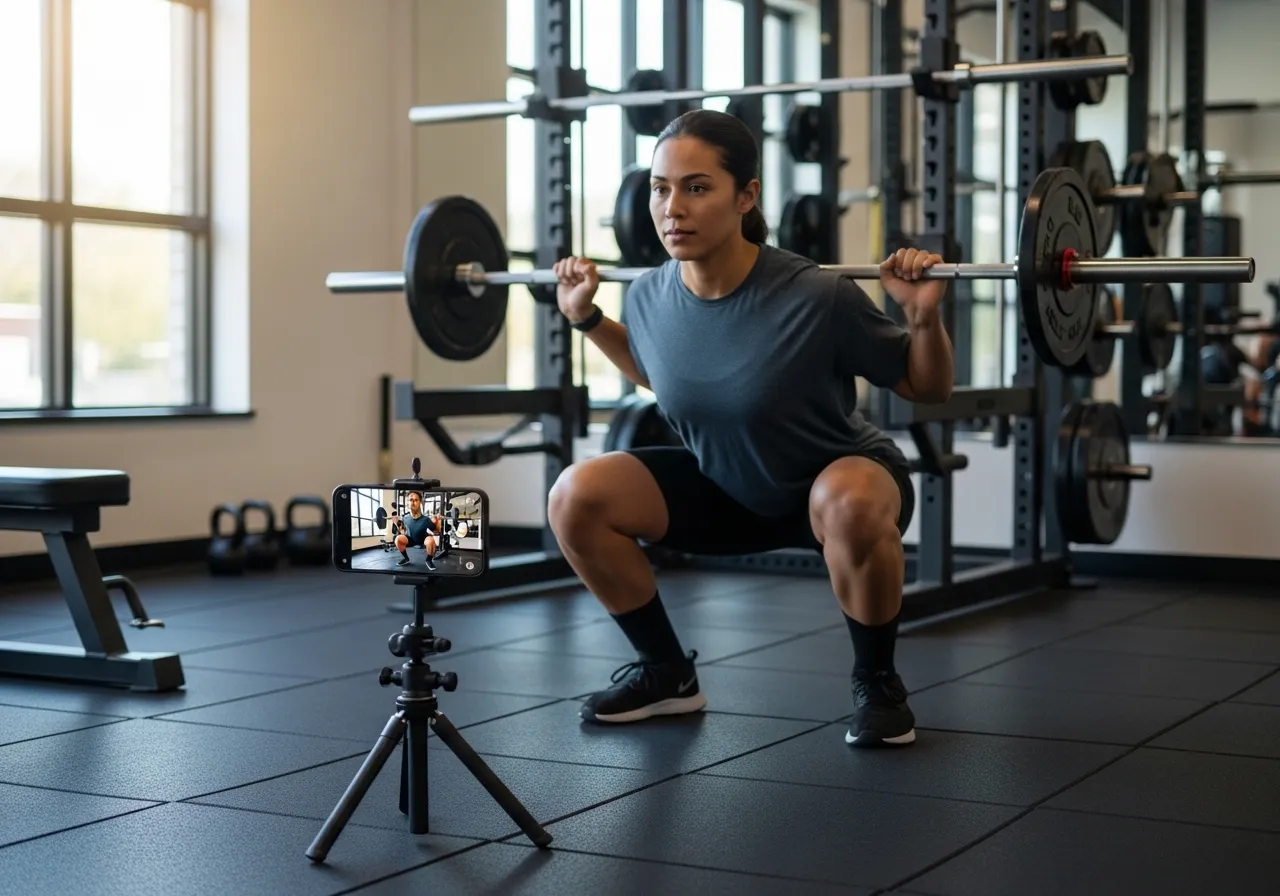
- Film yourself from the side and front — most form issues are much easier to identify visually than by feel
- Check that your heels remain flat, knees track over toes, and spine stays neutral throughout
- If you experience pain during or after squatting — particularly in the knees, lower back, or hips — consider a movement assessment with a certified personal trainer or physical therapist before continuing under load
- Knee valgus collapse is one of the most common and correctable squat mistakes
- Heel rise usually indicates limited ankle dorsiflexion — addressable with consistent daily stretching
- Goblet squats are an excellent corrective tool for torso lean and upper back issues
- Film yourself occasionally — form deviations are often invisible from the inside
- Consult a professional if pain accompanies any of the patterns described above